Elderberry Syrup Master Recipe Makes about 20 oz
Flavorful and sweet, elderberry syrup can be added to smoothies, herbal teas, mixed drinks, and fermented sodas, or diluted into hot water or cold sparkling water. For a visually appealing and tasty treat, drizzle this dark magenta syrup onto yogurt, ice cream, custard or cheesecake. It also tastes great spread on pancakes and waffles, or used as cookie fillings.
Elderberry syrup can also be taken straight by the tablespoonful for nutritional and therapeutic support. Elderberries are rich in iron and bioflavonoids, and are an immune system tonic. They are helpful in preventing infections such as colds and flus; however, if already infected, they help us move through the illness.
To help with proper identification and harvest, please see our illustration below.

Elderberry identification page from our Foraging & Feasting: A Field Guide and Wild Food Cookbook by Dina Falconi; illustrated by Wendy Hollender. Book link: http://bit.ly/1Auh44Q
Ingredients:
4 cups fully ripe elderberries, stems removed (weighs about 23 oz). When fresh elderberries are not available, I use frozen ones.
1½ cups maple syrup or honey (I prefer maple syrup as I usually don’t cook honey.)
Optional ingredients:
Add one or a combination of the following freshly ground, dried spices: 1 teaspoon aniseed, ¼ teaspoon ginger, ¼ teaspoon cinnamon, 1/8 teaspoon nutmeg, or 1/8 teaspoon cardamom
1 lime, zest and juice

Elderberries and maple syrup simmering on the stove.
Mix elderberry, sweetener and optional ingredients in a nonreactive 2–3 quart pot, cover, bring to a gentle simmer and cook for 5 minutes, stirring occasionally.
Remove lid from pot and gently simmer mixture for 5 more minutes.
Remove from heat and purée mixture with a hand-held immersion blender or food processor.
If you would like the syrup to be smooth and seed-free (which I recommended), strain it through a fine-mesh sieve.
Use right away. Or, to store, pour hot syrup into very clean glass jars, cap with tight fitting lids, label, leave out at room temperature to cool, then store in the refrigerator where they should keep for at least three months. For longer storage, freeze the syrup or seal in a hot-water bath.
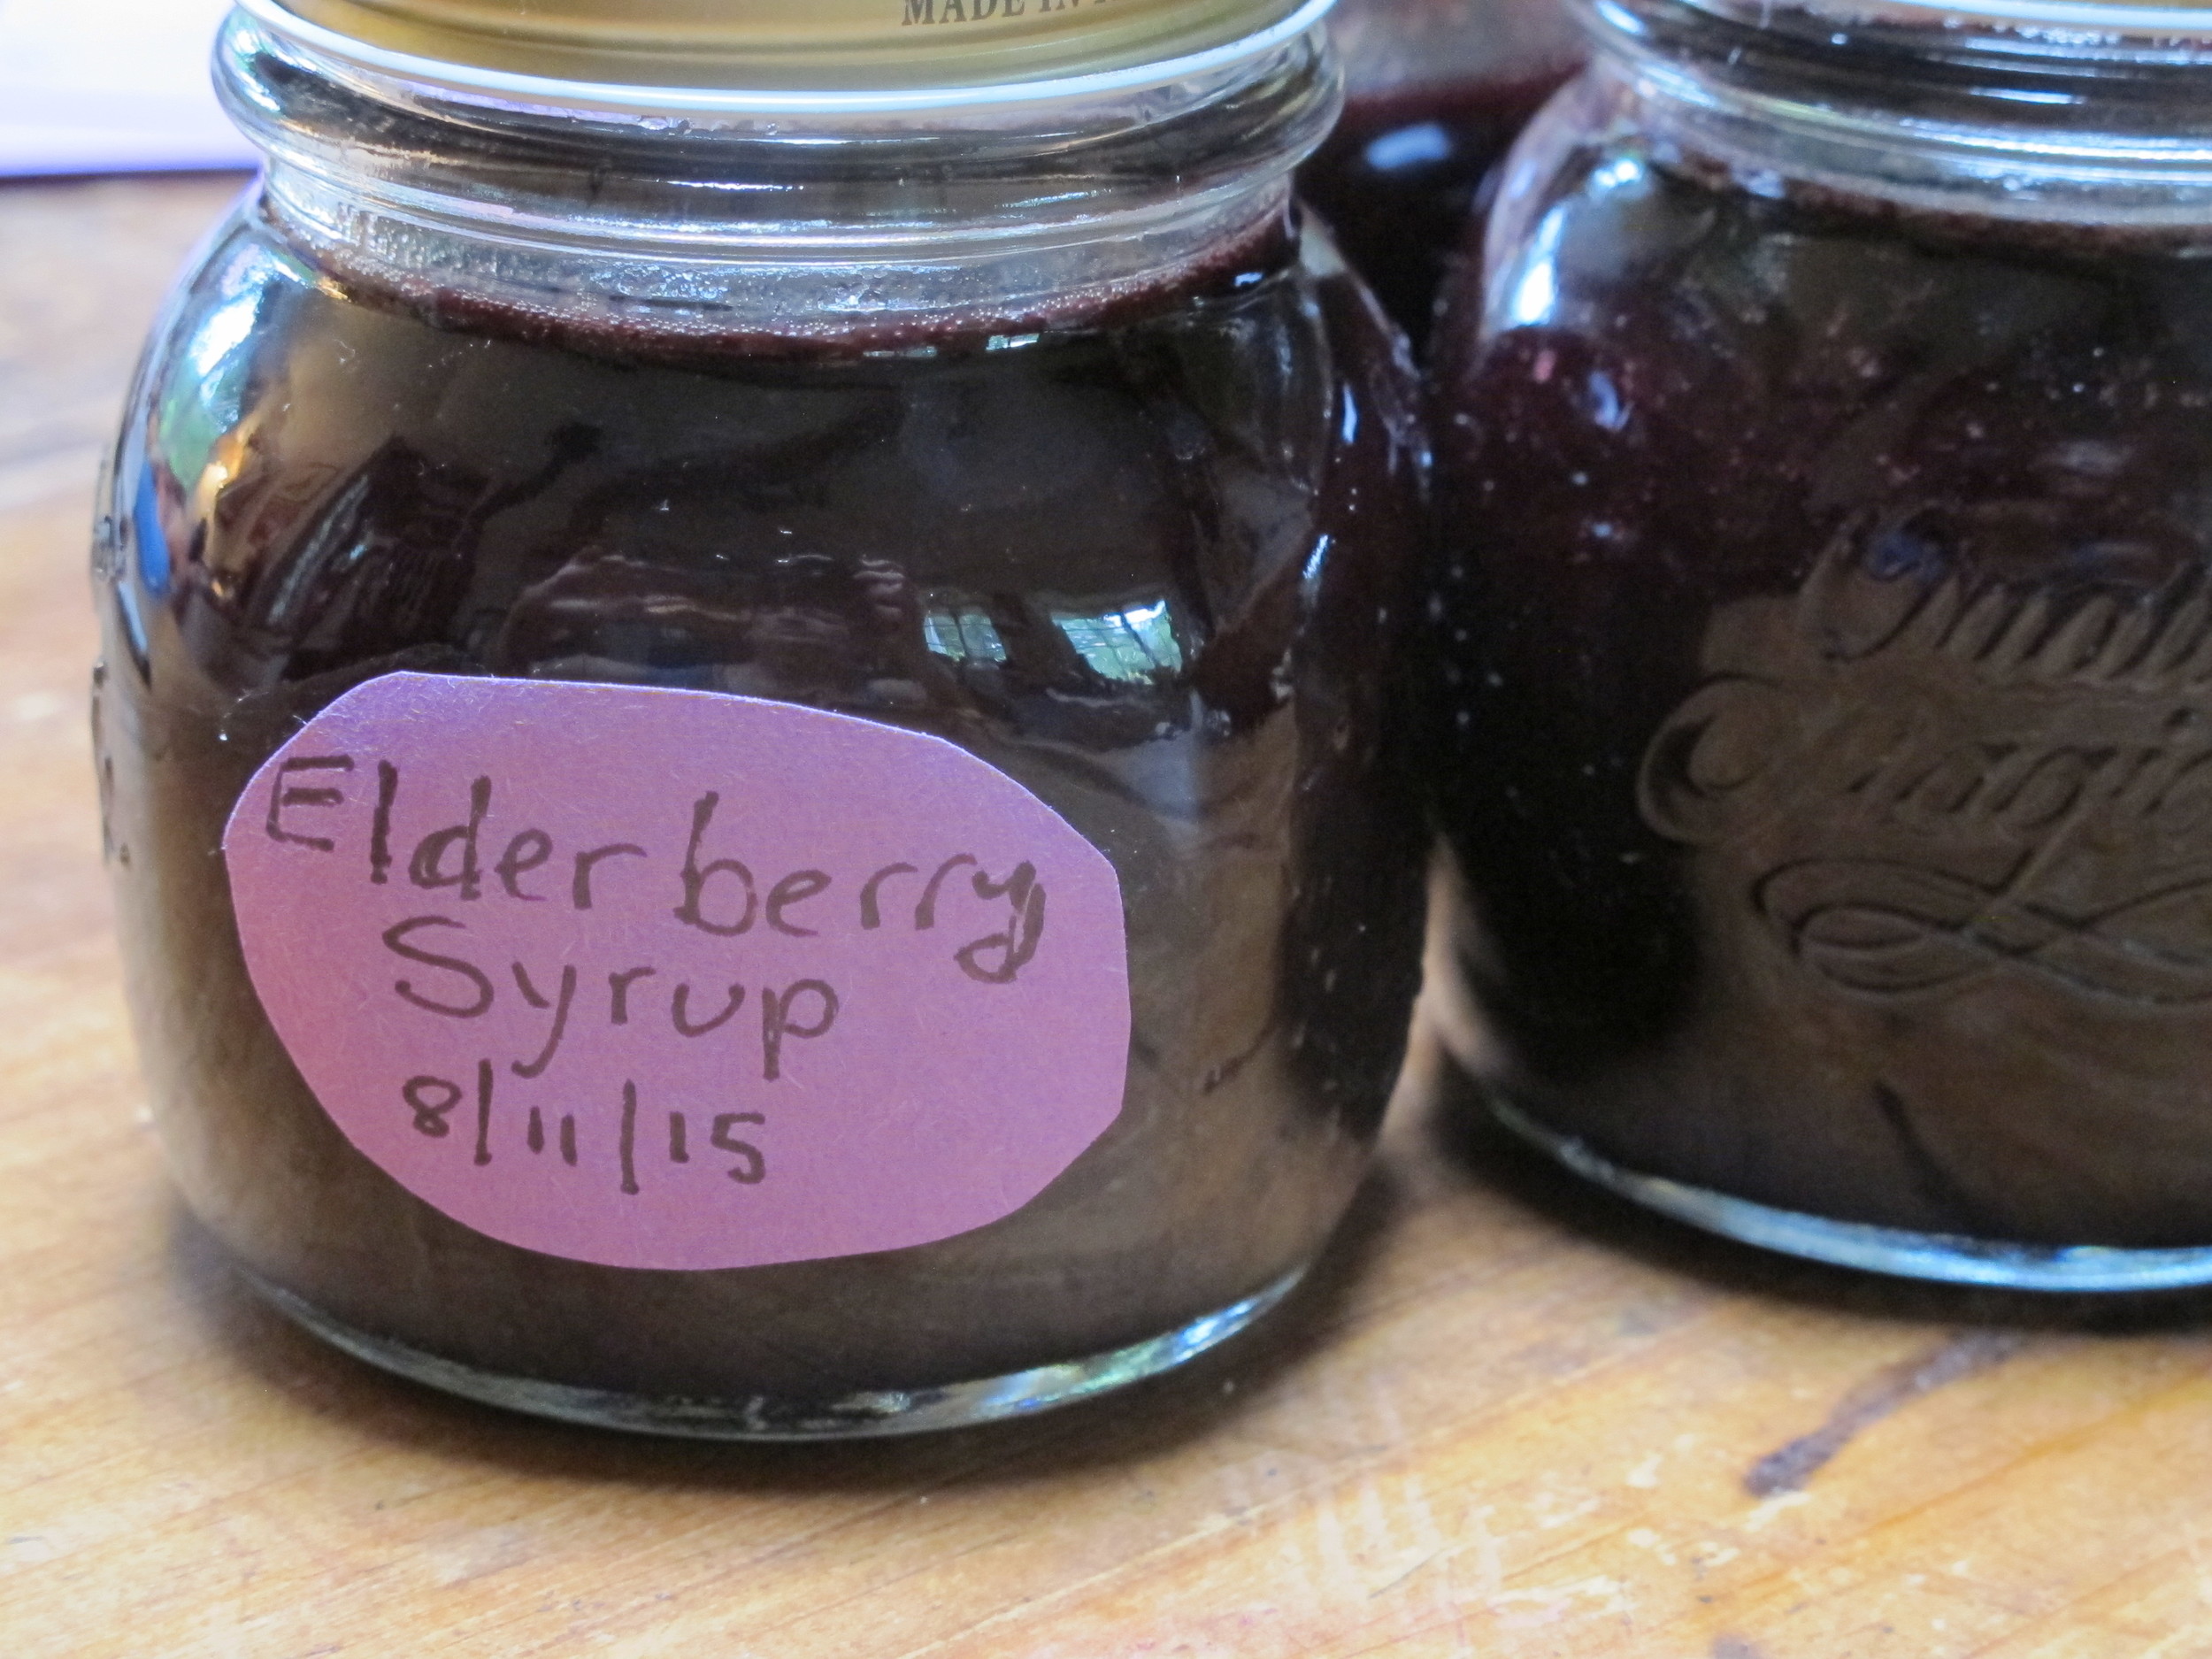
Elderberry syrup in jars.
Recipe excerpt from our Foraging & Feasting: A Field Guide and Wild Food Cookbook by (me) Dina Falconi; illustrated by Wendy Hollender. Book link: http://bit.ly/1Auh44Q